Beginner’s Sourdough Bread
This beginner’s sourdough bread recipe is perfect for anyone who wants to learn how to make sourdough bread, as well as those looking for an easy, everyday bread recipe. We have included step-by-step pictures to guide you through each stage of the process!
Jump to:
- What is sourdough bread?
- Why this is the perfect beginner’s sourdough bread
- Sourdough glossary
- Ingredient notes
- Tools you’ll need
- How to make this beginner-proof sourdough bread recipe
- Bakers schedule
- Our tips for beginner sourdough bakers
- Frequently asked questions
- More sourdough resources
- Storage
- More of our favorite beginner’s sourdough recipes
- Beginner’s Sourdough Bread
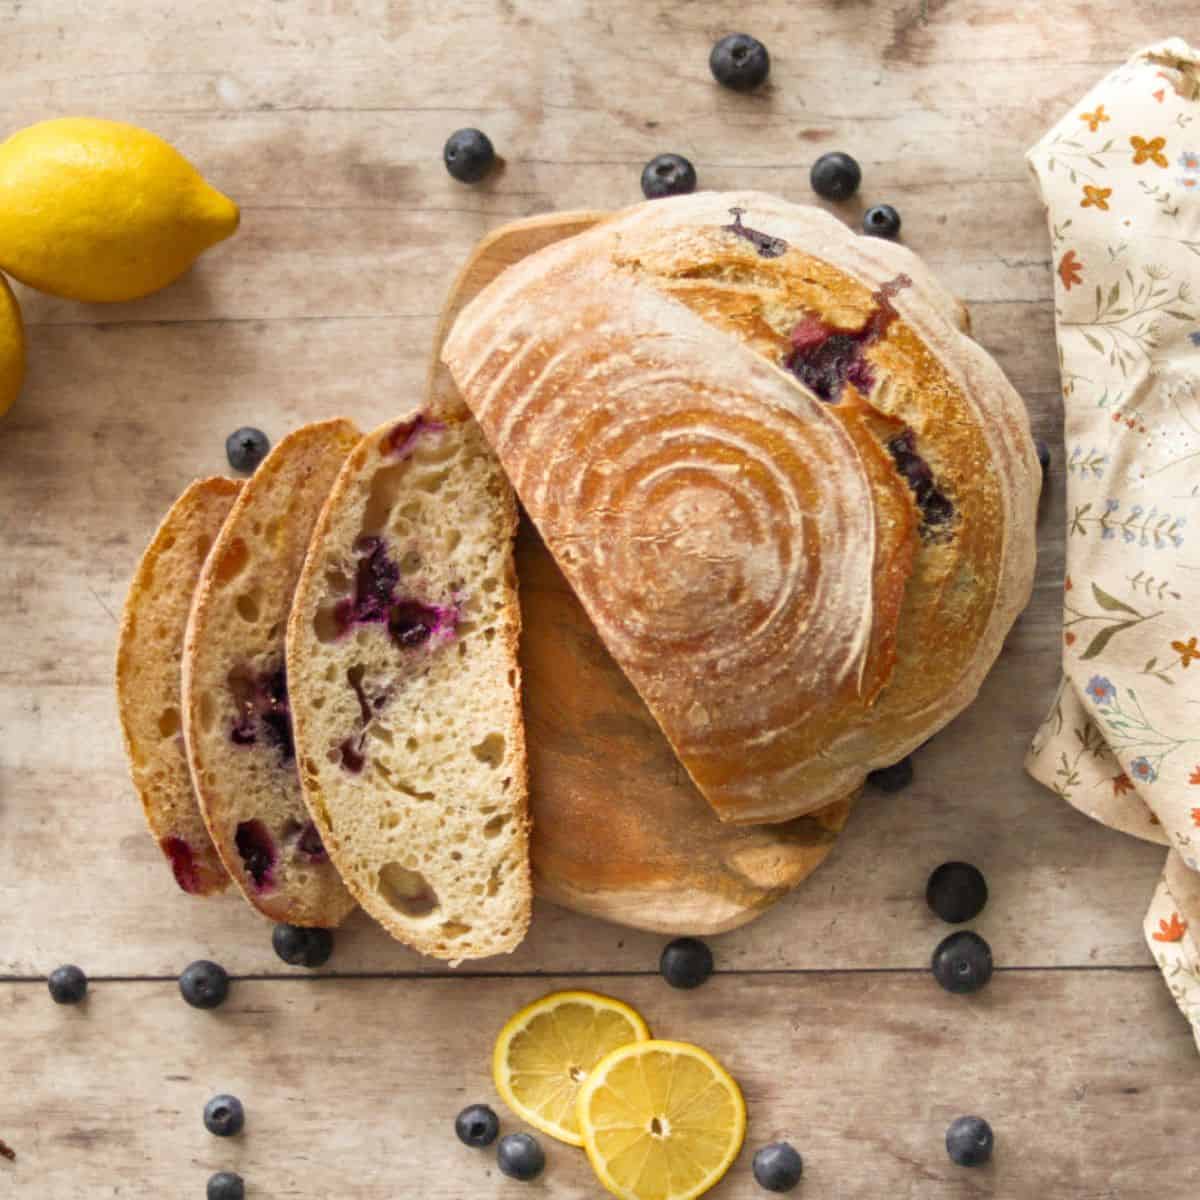
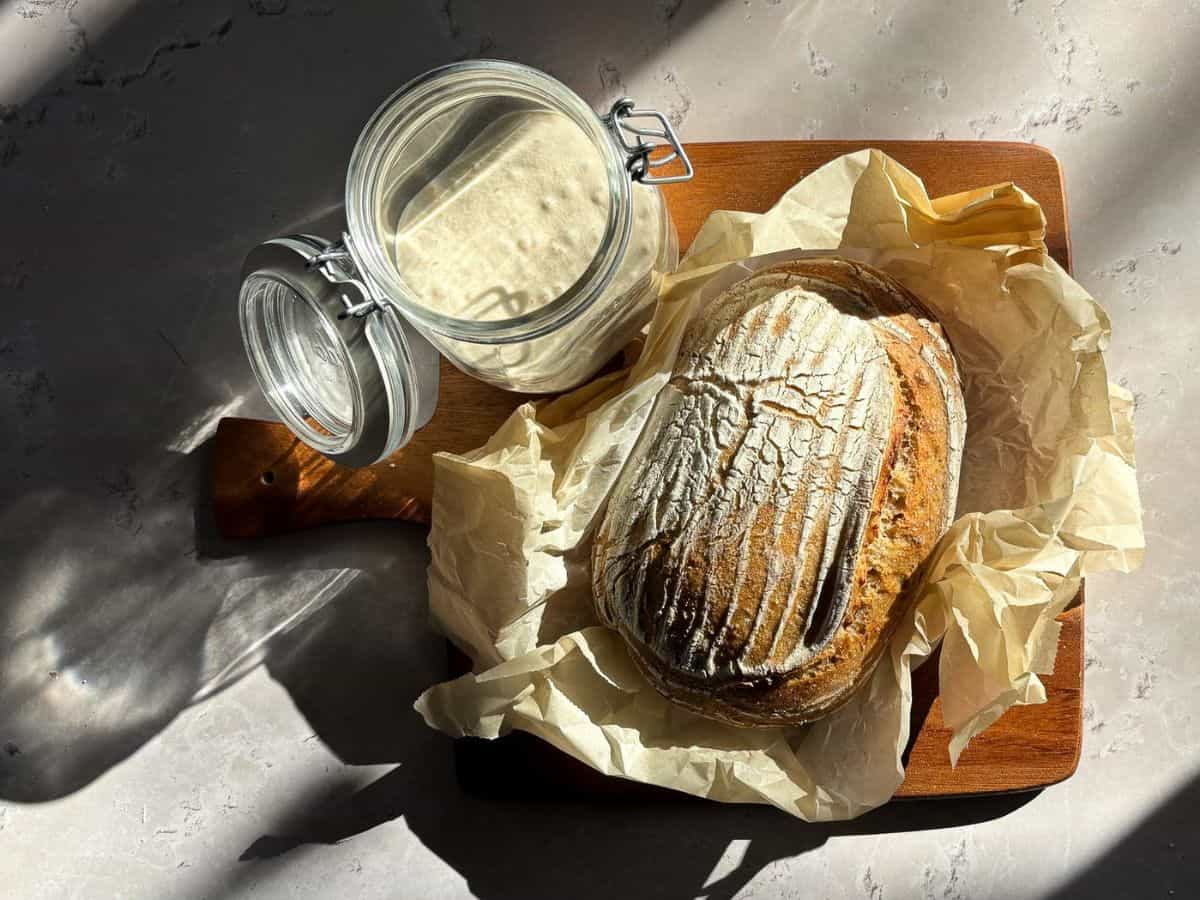
What is sourdough bread?
Sourdough bread is bread made from fermented dough and wild yeasts. To make your dough fluffy, use a sourdough starter instead of dried yeast. The natural yeasts and bacteria often give the dough a mild sour taste, which is why we call it sourdough bread. If you’re new and don’t have one yet, check out our guide on how to make a sourdough starter from scratch.
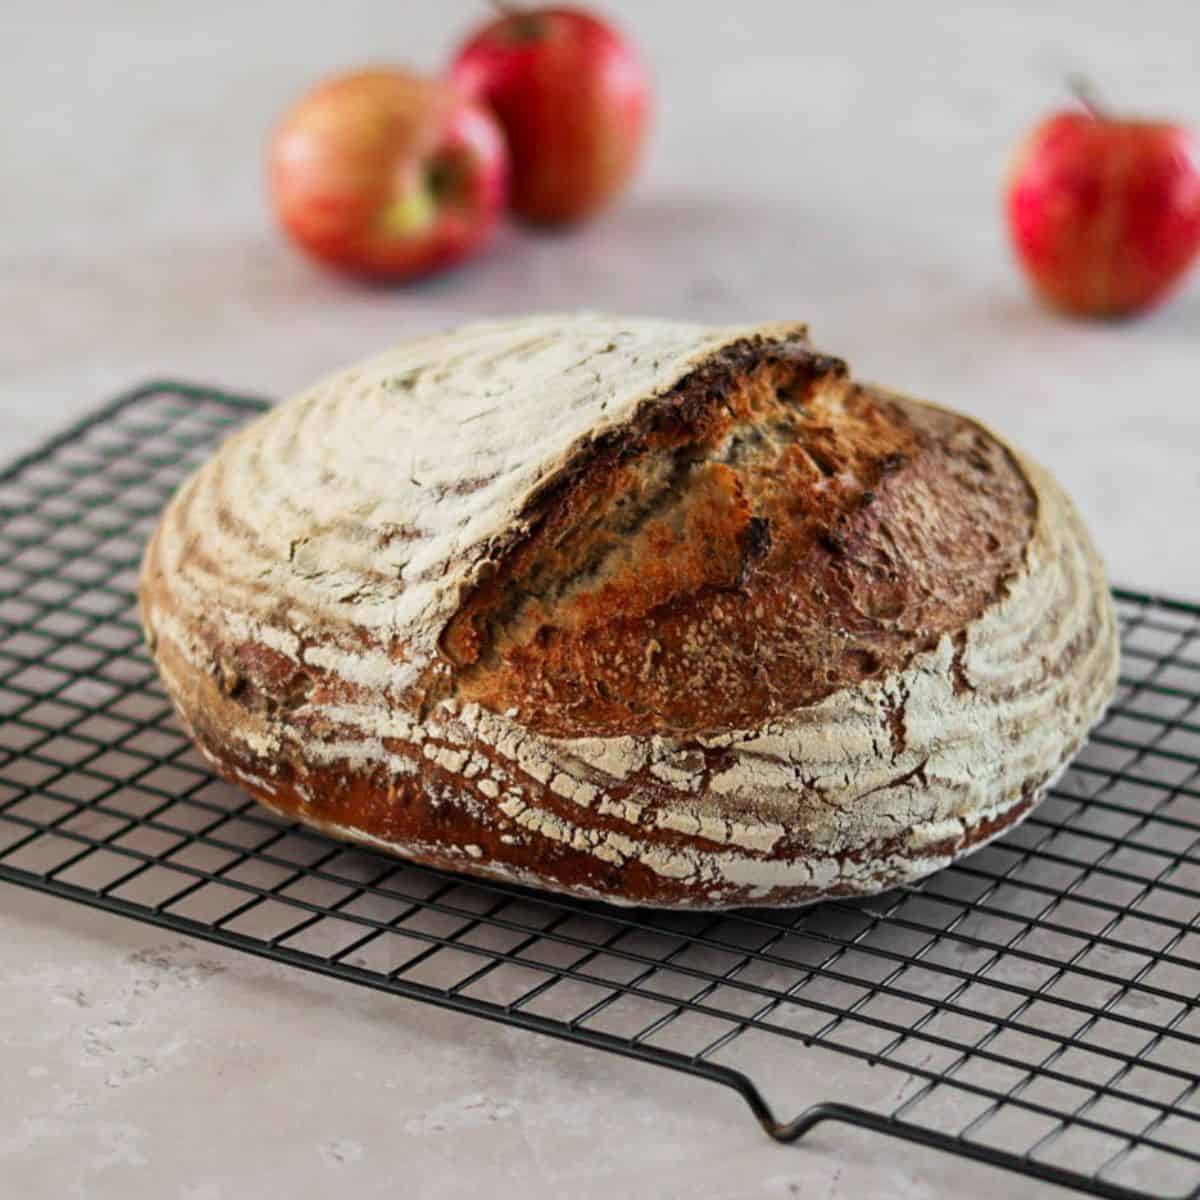
You can recognize sourdough bread by how it is baked. Usually, it is baked as an artisan bread with a slash on the side and beautiful patterns on the crust.
Why this is the perfect beginner’s sourdough bread
- No special flour. All you need is all-purpose flour!
- Everything you need to know, including a step-by-step photo guide to make your first sourdough bread!
- To make this beginner sourdough bread you don’t have to learn any difficult techniques.
Sourdough glossary
Active starter
An active starter is a sourdough starter that has been fed and reached peak rise. This is what you want to make your bread.
Discard
When you’re feeding your starter, you take out about half, and that’s what we call discard or sourdough discard. You can throw this away or use it to make one of our sourdough discard recipes.
Autolyse
Autolyse is when you let the flour and water rest for half an hour to give the flour time to absorb the liquid. You can skip this step, but it can help improve your bread’s texture.
Bulk fermentation or bulk rise
This is the most important step in making sourdough bread. The bulk rise is a long period of fermentation where the yeasts and bacteria will develop flavor and create the airy texture you’re looking for.
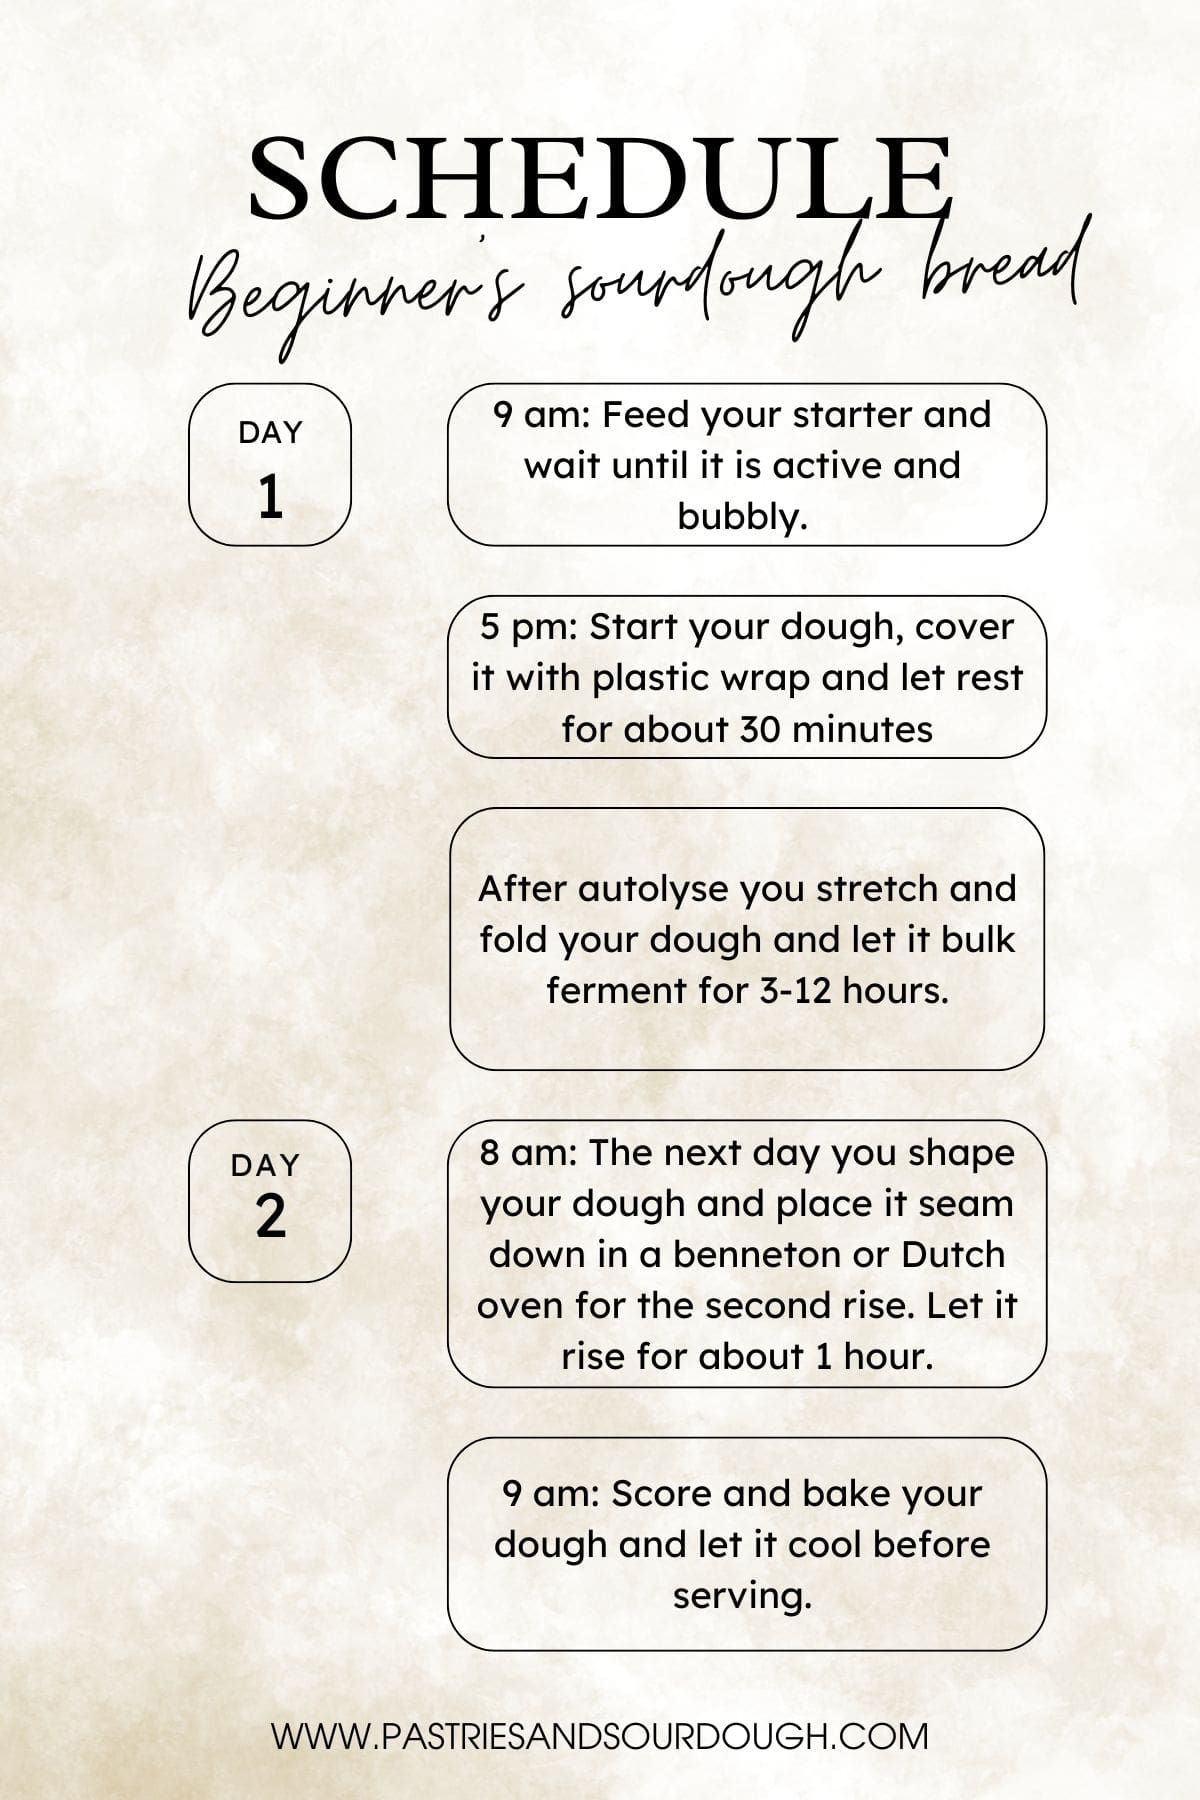
Baker schedule
A baker’s schedule with timestamps helps you plan the steps needed to make sourdough bread. We will include one with most of our recipes, but you can easily adjust it to suit your plans.
Second rise
The second rise or proofing sourdough is the time you let your dough rest after shaping and before you place it in the oven. Letting your dough rise for a second time makes it lighter and gives the bread a better texture.
Banneton
A banneton is a basket often lined with linen cloth used to proof bread. While it's not necessary to use one, it can help your dough maintain its shape and creates a spiral pattern on the top.
Stretch & fold
Stretch and fold is a technique that helps strengthen the dough. It is usually done in sets of four. Not every sourdough recipe uses this method, so our beginner bread skips this step to make the recipe easier for beginners.
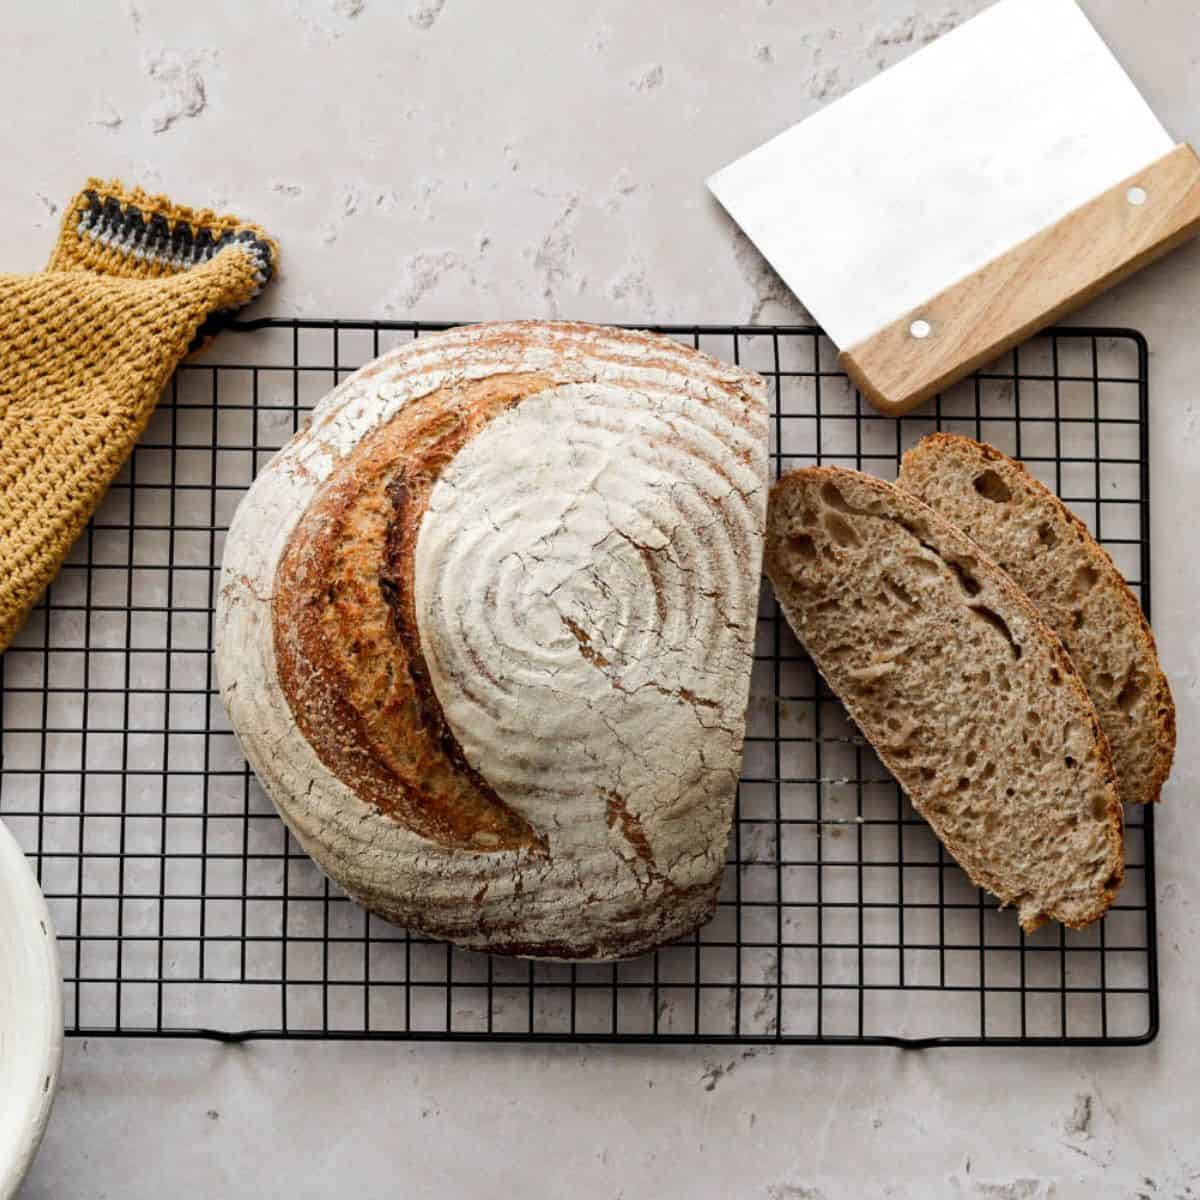
Boule
This refers to the shape of the bread. Boule is a round bread named after the French word for “ball.” Sourdough bread is often shaped as a boule because it is ideal for baking in a Dutch oven.
Bâtard
Bâtard is the name of an oblong-shaped bread. This is a classic French shape that we LOVE.
Ingredient notes
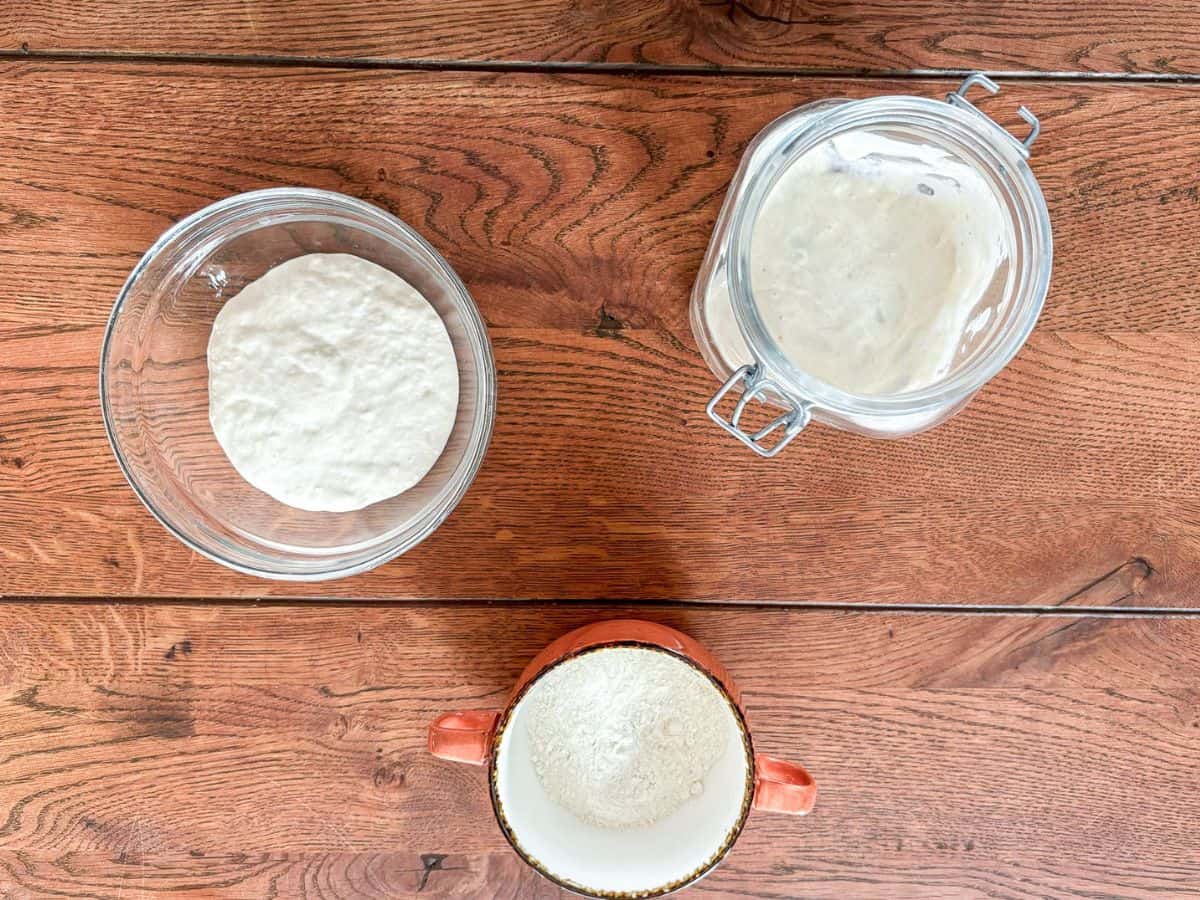
Sourdough starter: First things first: if you want to bake sourdough bread, you need an active sourdough starter. A starter is a mixture of flour and water that you’ll use to cultivate wild yeast. You can either make a starter from scratch or purchase one online.
I love making sourdough starter from scratch, but there’s no shame in buying one if you find it too intimidating at first. It takes time for your starter to become strong enough, and more mature starters tend to produce better bread.
Flour: When you’re just starting out, you don’t need to purchase special flour to bake delicious sourdough bread. For most of our recipes, we use all-purpose flour because we aim to create recipes that everyone can use without needing to buy special ingredients.
Salt: Salt is a crucial ingredient in bread-making. Without it, your bread will lack flavor, but it also strengthens your dough by tightening the gluten.
Tools you’ll need

Kitchen scale: I understand that some of you may find using a kitchen scale a bit intimidating. However, since you’re already learning a new skill, why not take it a step further and learn how to measure your ingredients in grams? I promise it isn’t as difficult as it seems, and it will significantly improve your bread and other baked goods!
If you’re worried about calculating your ingredients, don’t worry! Every kitchen scale has a tare button that resets the measurements, allowing you to add the required grams. Still not sure? We’ve included the measurements for every recipe in both imperial and metric measurements.
Mixing bowl: This is an obvious one, but to make your dough, you will need a bowl large enough to contain it when it has doubled in size. If you’re using a food processor, you can use that bowl for the bulk rise as long as it is big enough.
Banneton: Using a proofing basket, also known as a banneton, helps your bread maintain its shape while it rises. These baskets typically come in round or oblong shapes and are made from wood pulp or plastic. If you don’t have a proofing basket and aren't ready to buy one, you can still make your bread without it.
Dutch oven: Baking your bread in a Dutch oven helps retain steam around the dough, allowing it to expand beautifully before the crust forms. After baking in the Dutch oven, if you bake the bread without it for a while, the crust becomes nice and crispy, but again, you don’t need to use one if you’re just starting out.
How to make this beginner-proof sourdough bread recipe
Day one: Setting up your dough

Add the dry ingredients to your mixing bowl and give them a quick stir to combine the flour and salt. Once combined, add your starter and water and mix until incorporated. You’re not looking for a smooth dough at this point. Let your dough rest for about 30 minutes. This is what we call autolyse.
After 30 minutes, you want to stretch and fold the dough into a ball for the bulk rise. Place your dough in a large bowl and cover it with plastic wrap. It will take about 12 hours if you let it ferment at 70 F but if your room is warmer of cooler than 70 F you want to adjust your proof time. We’re working on a guide with everything you need to know!

Day two: Folding, shaping, and baking your bread

After bulk fermenting, your dough should have doubled in size, and it’s time to shape it! The easiest method to start with is the envelope technique where you fold the four sides of the dough into the center.
Place your dough, with the seam down, on a piece of parchment paper and place it in your Dutch oven. If you don’t want to use a Dutch oven, you can let your dough rise in a banneton! Let it proof for another hour.

Now, let’s score the dough! Scoring the dough helps your bread expand while baking, but it doesn’t have to be an elaborate pattern. Start with a slash at one side and go from there. It will take some practice to create beautiful wheat and flower patterns!
If you want to bake your bread in a Dutch oven, you want to place it in the oven while you preheat it to 450 °F. Carefully place your bread in the Dutch oven and bake it for 20 minutes with the lid on. Take off the lid and bake your bread for another 10 minutes until your bread is nice and golden.
Bakers schedule
Our tips for beginner sourdough bakers
- Feed your sourdough starter before you begin.
- Make sure you have everything you need at hand before you begin. This way you never miss an important ingredient or step!
Frequently asked questions
To bake bread, you need an active sourdough starter. Your starter is ready if it is at peak rise and has a lot of bubbles!
It depends. If you’ve fed your starter a few hours before and it reached peak rise, then no, it isn’t necessary. However, if your starter is hungry, feeding it will give you a better result.
More sourdough resources
- How to make a sourdough starter.
- Maintaining and feeding your sourdough starter.
- Everything you need to know about how to proof sourdough bread.
- Tips on scoring sourdough bread.
- Troubleshooting sourdough starter.
Storage
Homemade bread is best kept in a paper bag at room-temperature. On the counter it will last for about 2-3 days. You can also freeze your sourdough bread to enjoy later.
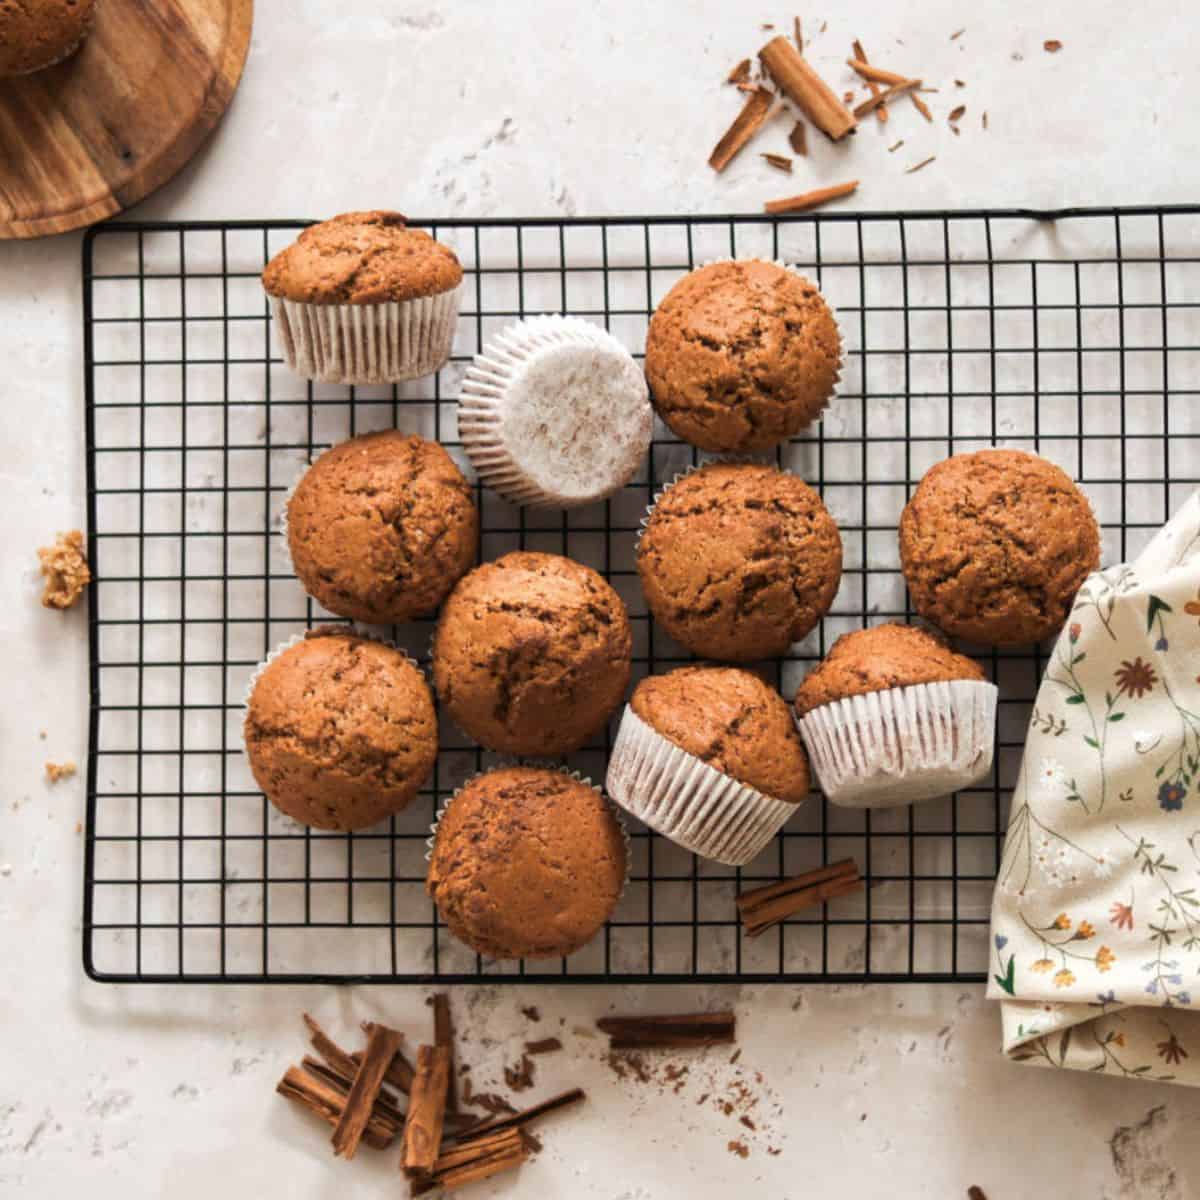
More of our favorite beginner’s sourdough recipes


Beginner’s Sourdough Bread

Equipment
- 1 benneton
- 1 mixing bowl
- 1 Dutch oven optional
Ingredients
- 3 cups all-pupose flour
- 1/4 cup sourdough starter
- 1 cup water
- 1 teaspoon salt
Instructions
Day one
- Add all the ingredients to a bowl and knead this for about five minutes until you have a smooth dough. I like to do this with a mixer and dough hooks.
- Cover your dough and set it aside to rise for about 12 hours.
Day two
- After the bulk rise, it is time to shape your dough.
- Transfer the dough to a well floured counter and knead the dough for a few minutes.
- Gently stretch the dough and fold the sides to the center.
- Do this until you reach the bottom of the dough and place it seam up in your floured banneton.
- Cover it with a clean towel and let it proof for another 2-3 hours.
- Preheat your oven to 450 °F (230 °C).
- Transfer your dough, seam down, to a lined baking tray and score it with a slash in the center of your bread.
- Place the tray in the center of the oven and bake your bread for about 30 minutes.
- Take your bread out of the oven and let it cool completely before cutting.